

Electronic Portfolios for Documenting Student Progress and Publication of Class Work
by Kristi Reyes
by Kristi Reyes, MiraCosta College, Oceanside, CA
Posted February 2019
A portfolio is a compilation of a student’s best work in a course or best work spanning his or her education. Portfolios can be used by students in applying for higher education, jobs, and career training. An electronic portfolio is an online showcase of a student’s work, which can include writing, images, artwork, links, and multimedia. The biggest differences between a paper-based portfolio and an e-portfolio are that e-portfolios can be more permanent, allowing the student and others to examine the student’s growth over time and for the student to reflect on his or her development. Unlike paper portfolios, e-portfolios can be used to display videos and multimedia, and they can be shared easily online. Depending on the platform or web tool used for the e-portfolio, students can collaborate and comment on each other’s work, and teachers can provide formative feedback and summary comments.
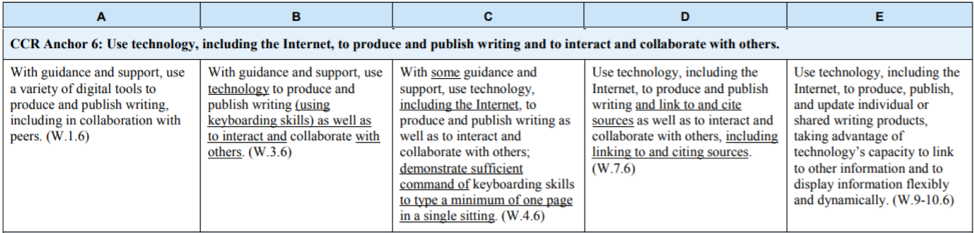
For adult education, e-portfolios are a great fit with the College and Career Readiness Standards Anchor 6, which indicates that students should “use technology, including the Internet, to produce and publish writing and to interact and collaborate with others.”
There are many benefits to using a portfolio-based system of assessment, such as validating the student’s progress over time and helping foster a growth mindset in students. Teachers can implement assignments in which students perform the course objectives and publish their work in the e-portfolio. A rubric shared with students can be used to assess the whole of the student’s efforts rather than basing grades solely on test scores. At the same time, when students publish their work in an e-portfolio, they are building literacy skills and visual literacy while publishing to a wider, authentic audience and gaining technology skills all at the same time. Students need to exercise critical thinking skills when deciding which class assignments represent their best work. Students can continue to develop their e-portfolios after the class has ended. When using e-portfolios, students can personalize the look and display of the content of their sites, often revealing hidden talents which teachers wouldn’t otherwise know about.
What are some assignments that work well with a portfolio system of assessment? Consider assigning these for publication on separate pages of an e-portfolio:
- A student introduction in which the student discusses reasons for taking the class
- Goal statements (a goal for the class as well as students’ long-term goals)
- Discussions of how the student used peer and teacher feedback to improve an assignment
- Any writing assignments
- Any class projects
- Slideshow presentations
- Videos
- Self-assessment in the form of reflections
There are caveats to having students use e-portfolios, of course. Make sure that students understand what types of information should not be shared online in order to protect their privacy and security. You may choose to allow students to use a nickname and leave off last names and physical locations, including the name of your school. Only post students’ e-portfolios on a shared site with written permission of students. Ask about your agency’s release form, and if there isn’t one, make one yourself. Allow students to share their e-portfolios just with you. In my experience, students have willingly shared their e-portfolios with the entire class, even when they have written about sensitive topics, and by reading each other’s work, a stronger sense of community developed in the class. Some former students have permitted me to share their e-portfolios with subsequent classes, and their classwork has served as great models to use for explaining the expectations for various class assignments.
There are a number of free website builders that can be used for e-portfolios. If you have students use Google Docs and Slides, Google Sites is an easy-to-use option because students will be logging in with their Google account (Gmail). If you used Google Sites in the past, it is likely that you built a site on “Classic Sites,” which was a bit more complicated than New Sites. The instructions that follow show how students can set up and post to an e-portfolio made with Google Sites, but for a hands-on experience learning how to use Google Sites, make plans to attend the OTAN Technology and Distance Learning Symposium March 1 and 2, where Melinda Holt will provide the workshop “Google Sites - Build it! They will come!” The registration deadline is February 8. For details see Technology and Distance Learning Symposium 2019.
Getting Started
Follow these steps to create a class website or for students to create their own Google Sites to organize their materials into an e-portfolio.
Step 1: Create a Google Site
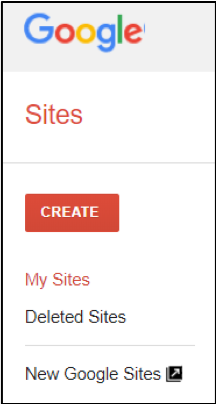
Open sites.google.com on your browser. Sign in with a Google account. Select “New Google Sites” if you see that option.
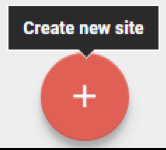
Select the Create New Site button.
You will see a general default template.
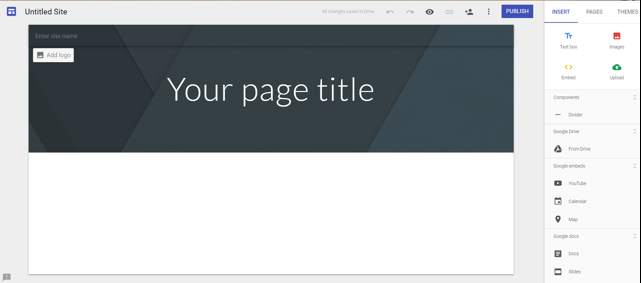
Step 2: Name Your Google Site
Name your Google Site in the top left and give your home page a name by typing over the words “Untitled Site.”

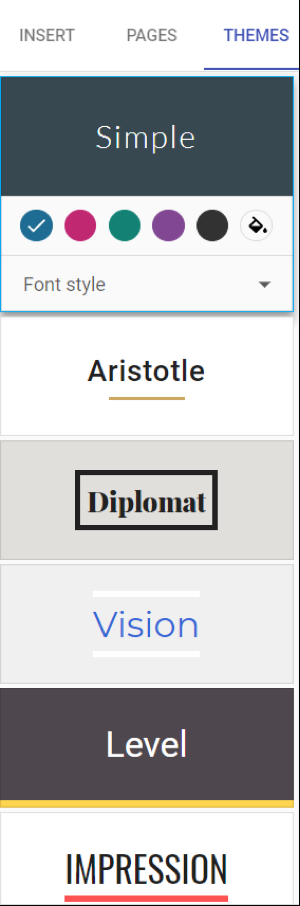
Step 3: Select a Theme
On the right toolbar, select “Themes.” Select a theme to view the header style. You can select a different color scheme and font with the drop-down arrow next to “Font Style.”
Note: If you don’t like any of the header backgrounds, you can select a different one by hovering over the bottom-left corner of the current header and select the drop-down arrow by “Change image.” You can upload any picture from your device
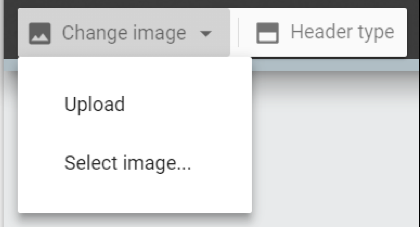
or you can choose “Select image” to browse the gallery:
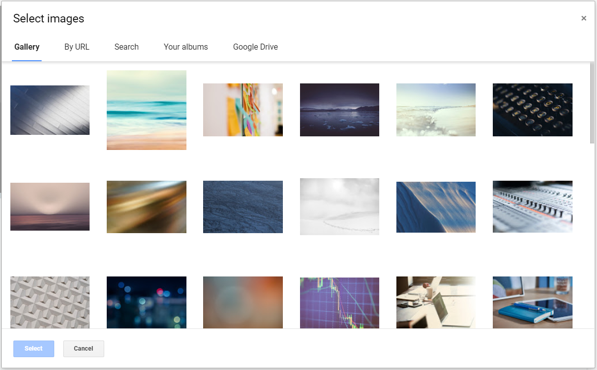
or select the “Search” tab to find an online image.
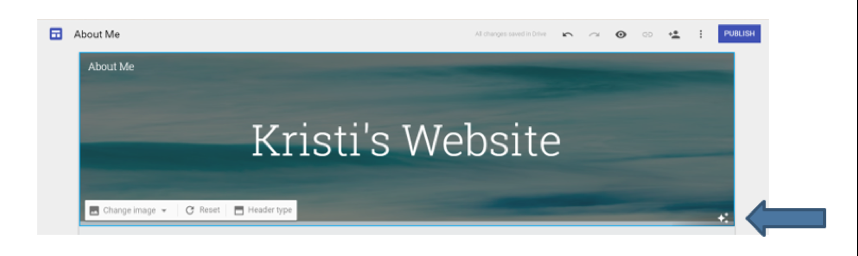
The star icons in the bottom right of your header will change the contrast of your header and title for better readability.
Step 4: Add Content to Your Google Site
To Insert content, select “Insert” in the right-side toolbar. You can select a different layout than the default.
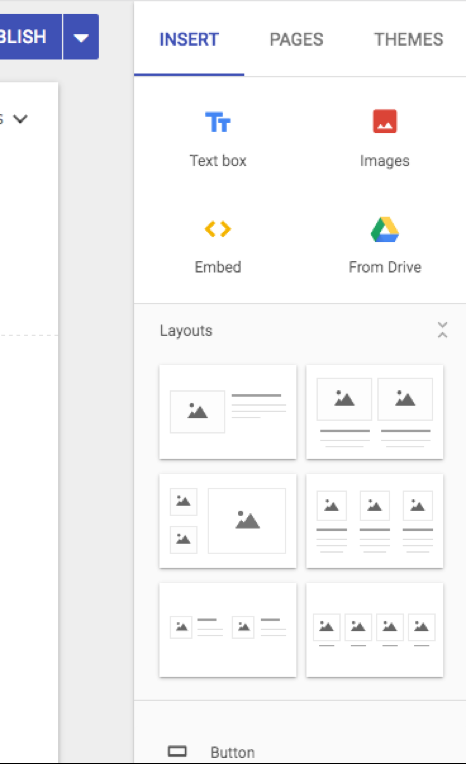
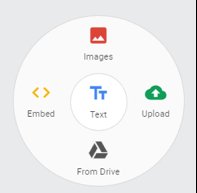
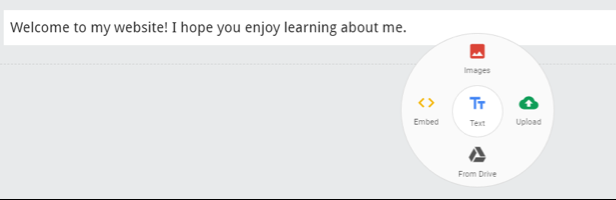
You can also double-click (or double-tap) under the header, and the content chooser will appear.
Select “Text box” and type a simple intro, such as “Welcome to my personal site.” Select to make the text a title or subtitle, as desired, and either left-align or center the text.

Step 5: Add Images to Your Google Site
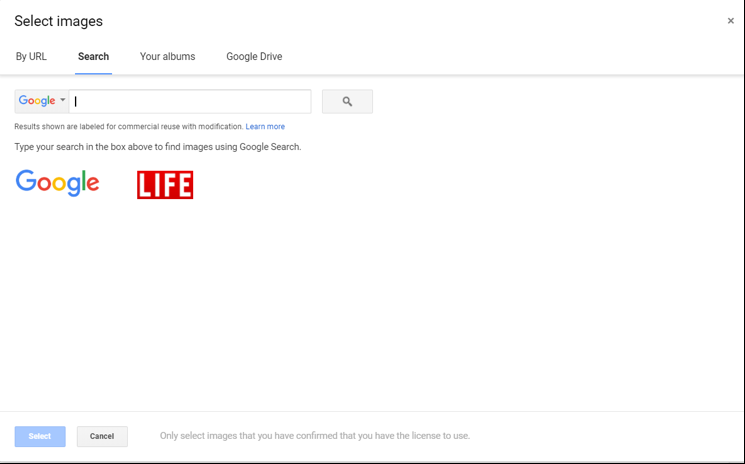
Select “Images” to insert an image by pasting in the URL for an image, searching Google Images, or uploading from Google Albums or Drive.
Step 6: Add Other Content to Your Google Site
You can add other types of files from your Google Drive by double-clicking (or double-tapping) under your text box to launch the content chooser, or go to the “Insert” tab in the right-side toolbar.
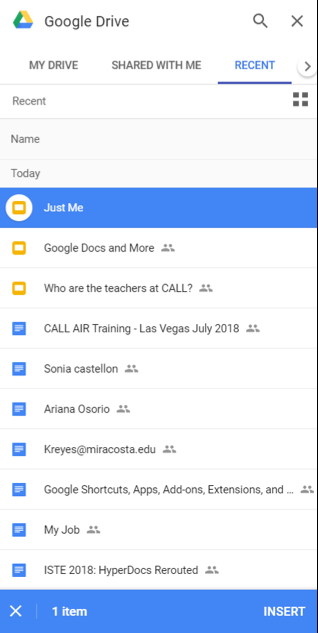
Under"Insert," select"From Drive." A window will appear listing all of the content in your Google Drive. Choose a file you created and select “Insert” at the bottom of the navigation bar.
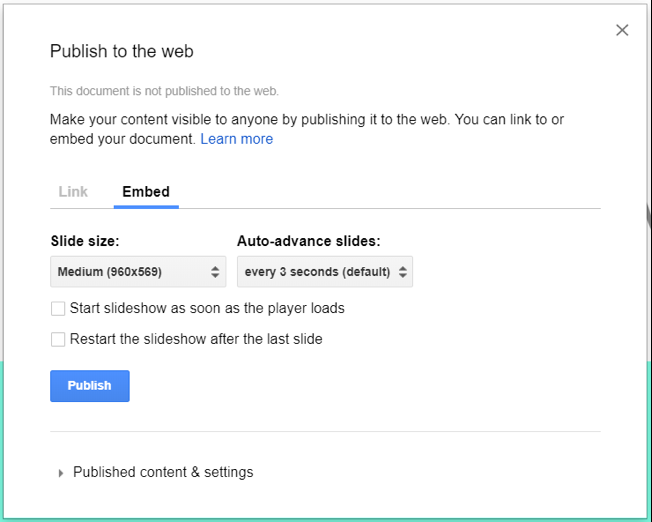
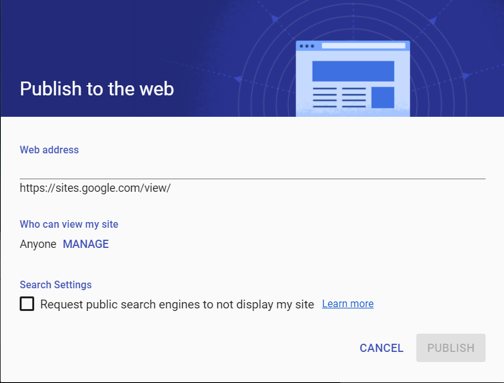
Important note: If you insert any type of file (Google Doc, Google Slideshow, a video, etc.) from your Google Drive, you need to make sure that the file has been published to the Web. To publish to the Web, select “File” and “Publish to the Web”
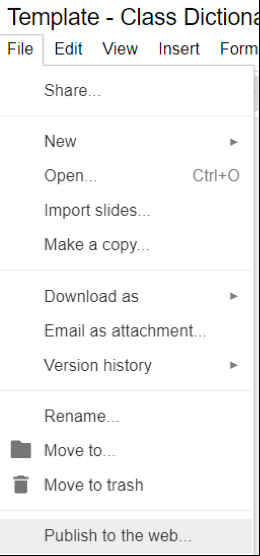
and"Publish."

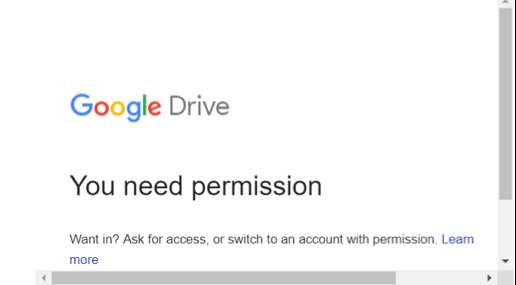
If a Google Drive file is not published to the Web, when others view your site, the inserted file will look like this:
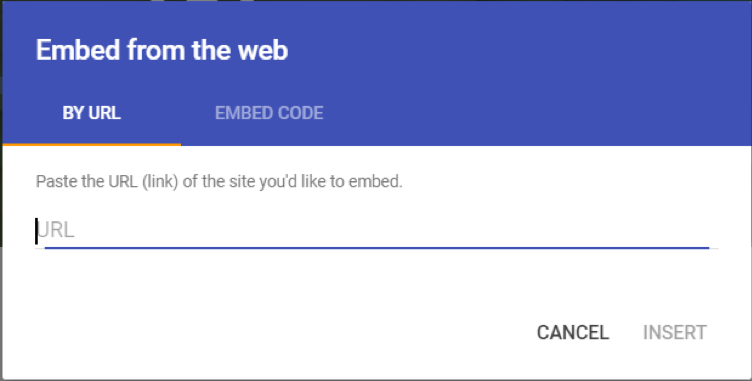
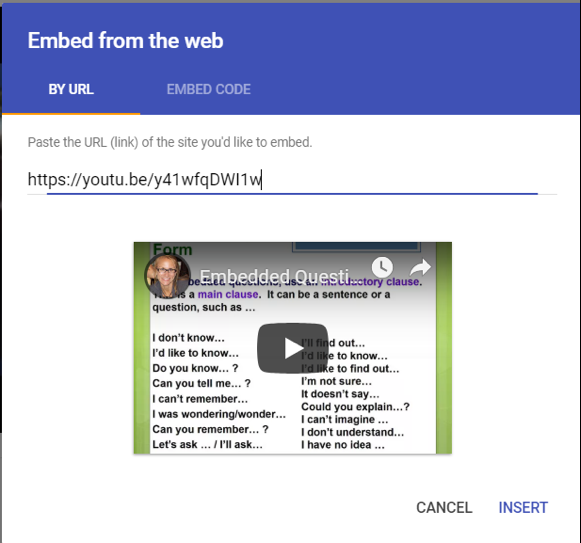
Another way to insert Google files (Docs, Slides, Sheets, etc.) is to copy and paste the URL or embed code after you have published the file to the Web. In that case, on your site, select"Embed" from the right toolbar or content chooser and paste in the URL and select"Insert"
or select"Embed Code" and paste in the code and select"Next."
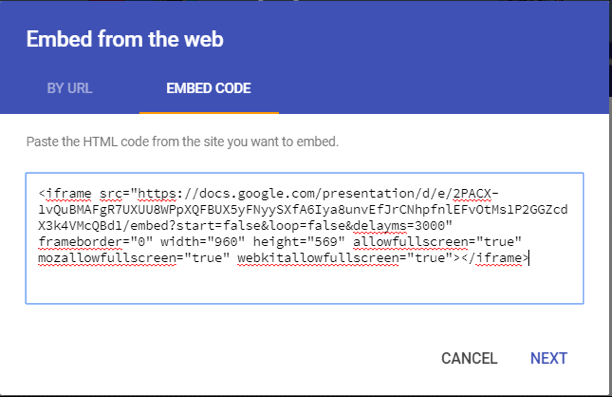
Whether you paste in a URL or html code, you will see a preview of your content.
Select"Insert."
Your content will appear embedded on your homepage. You can move it by dragging and resize it from a corner handle, just as you would an image.
With Google Slideshows, you have the options for the size of the slideshow and of making the slides begin to auto-advance.
To add online video, such as a video from YouTube for example, you can similarly copy the URL or the embed code after you select “Share.”
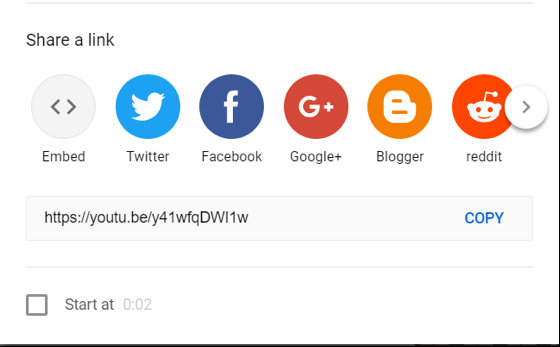
Then, back on your Google Site, select “Embed” on the content chooser. Paste in the URL or the embed code. If you paste in code, select “Next.”"
Step 7: Publish What You Have Created
Back on the homepage, select the “Publish” button in the top right. Enter a URL name. For instance, if you enter “aboutme,” your website will be https://sites.google.com/view/aboutme.
If you see a checkmark to the right, the URL is available.

Select “Publish.” You can preview your Google Site by selecting “View.”

Important Note: Further edits made to your draft site won’t display on the live site until you publish them. Any time you edit your site, click “Publish” to push edits live.
You can also manage who can view your Google Site. Select “Manage” to see the options. For instance, you can grant editing rights to collaborators.
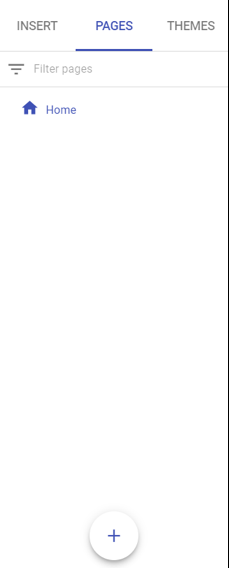
Step 8: Add More Pages to Your Google Site
To add more pages, select “Pages” in the right navigation bar. Select the plus (+) icon at the bottom to make another page.
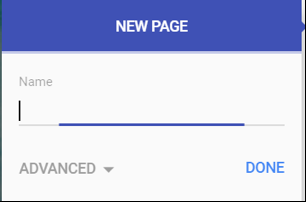
In the New Page box, type in a name for the new page, such as “Contact Me” and select “Done.”
By default, your new page with have the same theme, color scheme, fonts, and header as the home page. You can change these, however, by following the directions in Step 3. If you prefer to keep consistency, you may choose to change just the banner size. Hover over the left corner of your banner and select “Header type.” Select a different header type, as desired.

The Google Site contents are listed in the top right corner of the site by default.
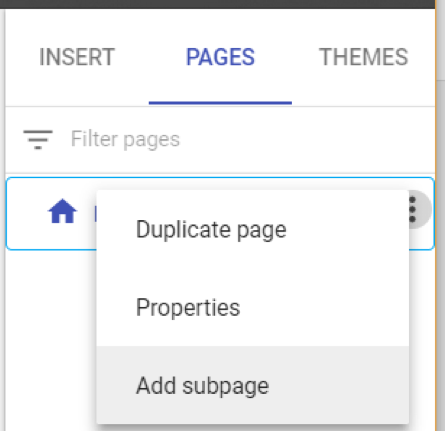
To add a subpage to any page, select the “Pages” tab from the right-side toolbar and select the page you would like to add a subpage to. Select the 3 vertical dots (more) and from the popup, click “Add subpage.”
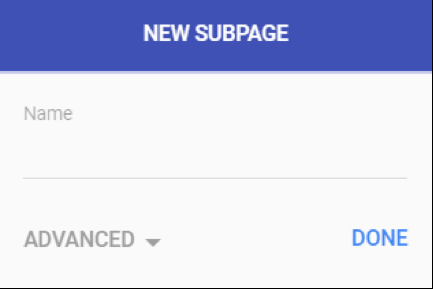
Give the new subpage a name.
Add content to your subpage and remember to “Publish” after each change.

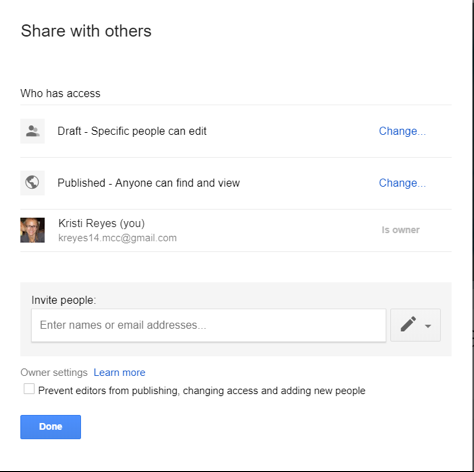
Step 9: Sharing Your Google Site
A site can be shared by selecting the “Share” icon at the top, selecting access options,

and entering (an) email address(es).

Additional Resources
The Google Sites Help Page has a lot of useful information if you ever get stuck.
Other sites that you may want to consider for free e-portfolios are the following:
- Adobe Spark Page
- Populr.me
- Weebly
- Wix
- WordPress
- See Common Sense Education’s Top Picks for Student Portfolio Apps and Websites for a list of others.