

Interactive Images and Virtual Reality Using Thinglink
by Susan Gaer
By Susan Gaer
posted July 2021 (This is an update to a 2019 web-based article.)
You may have seen photos of users with high-tech virtual reality goggles tuned out to the world and wonder what type of experiences can be had. By definition, users are immersed in a 3D world and virtual reality places the user inside the experience as opposed to just viewing it. With Thinglink, you can easily recreate these experiences for students who will view them using a simple cardboard VR device. You can also use Thinglink as a non-immersive but engaging scavenger hunt of visual information. Finally, with a $35.00/year professional account, Thinglink can be used as a means for having students create these experiences for others. The power of student creation includes 21st century skills such as collaboration, research, and media literacy. So, what is Thinglink and how can you use it?
Getting a Free Account
Getting a free account with Thinglink is easy. Visit http://thinglink.com
 Fig 1
Fig 1
In Figure 1, you can see the first screen. Click the Start Now button in the center of the screen to start.
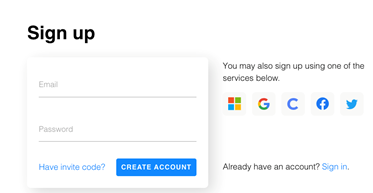 Fig 2
Fig 2
Simply type in an email and a password and click Create Account (Fig 2). You can also sign in with Microsoft, Google, Clever, Facebook, or Twitter. Thinglink has many types of users. So, in Figure 3, click on the radio button next to Education/School, and click continue.
 Fig 3
Fig 3
You will then be asked for information about school level (Fig 4). There is no option for adult education, so you can either pick higher-ed or other. Click Continue.
Next is (Fig 4) to describe the purpose of using Thinglink. I picked Teaching in the classroom.
 Fig 4
Fig 4
Finally, type in your name and school name and hit continue (Fig 5). It is not necessary to type in the subject. Note: at the bottom center of the box, there is a link to subscribe to the newsletter or not. Uncheck it if you don't want that type of email.
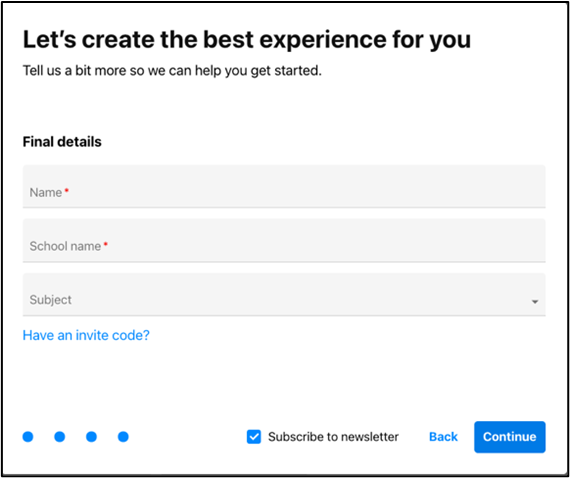 Fig 5
Fig 5
Creating Your First Interactive Image
Thinglink has many types of images that you can create. In Figure 6, you can see the array of things that you can create. For the purposes of this introductory article, we will choose Image. However, feel free to try other modalities such as Floor plans, Presentations, Timelines, or Tours. Click on Image and then click Continue.
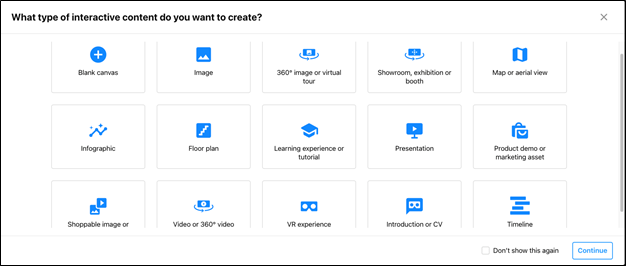 Fig 6
Fig 6
There is an option to watch a video about how to create an interactive image. For the purposes of this tutorial, hit Continue so I can walk you through it.
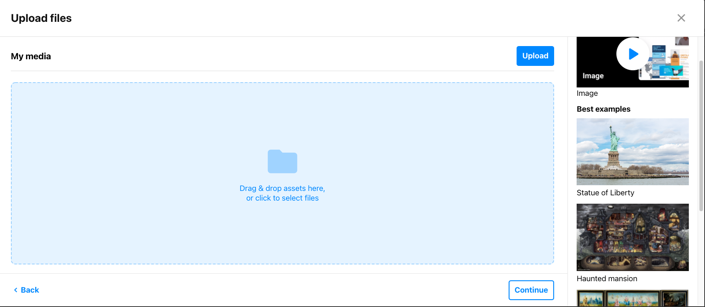 Fig 7A
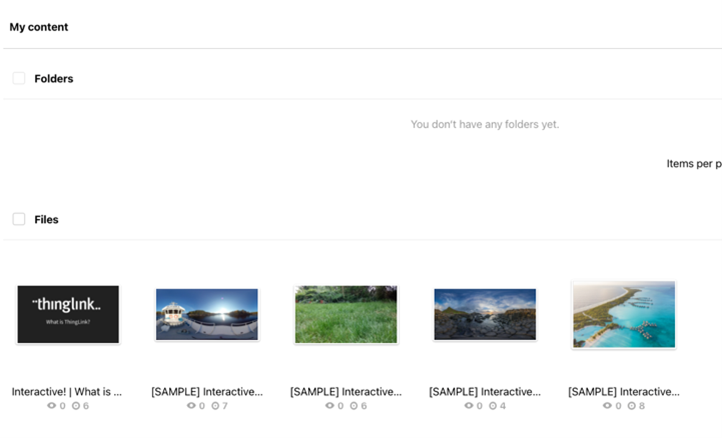 Fig 7B
You will see the screen in Figure 7A. In the big blue box in the middle, you will see "Drag & Drop assets here, or click to select files." In this case, an asset is an image that you can either choose from their library or upload your own. Let's upload a sample image. Click continue. You will then see Figure 7B which is your content. Let's pick the image on the far right (Fig 7B).
Hover your mouse over the picture and you will see three dots. (Fig 8A). Click on the three dots and choose Clone. (Fig 8B). You will get a confirmation message. Click Clone.
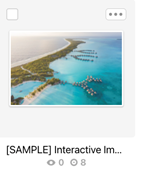 Fig 8A
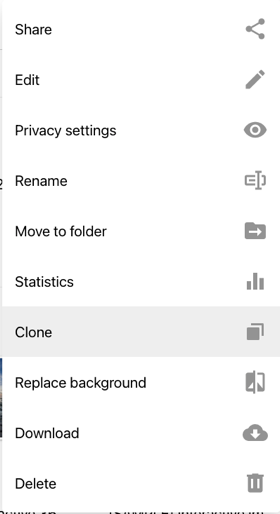 Fig 8B
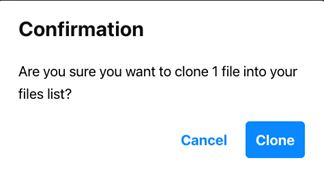 Fig 8C
You will then have the image labeled Clone of (Fig 9).
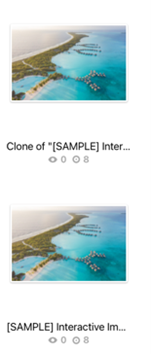 Fig 9
Fig 9
Double click on the clone and it will open in your library (Fig 10).
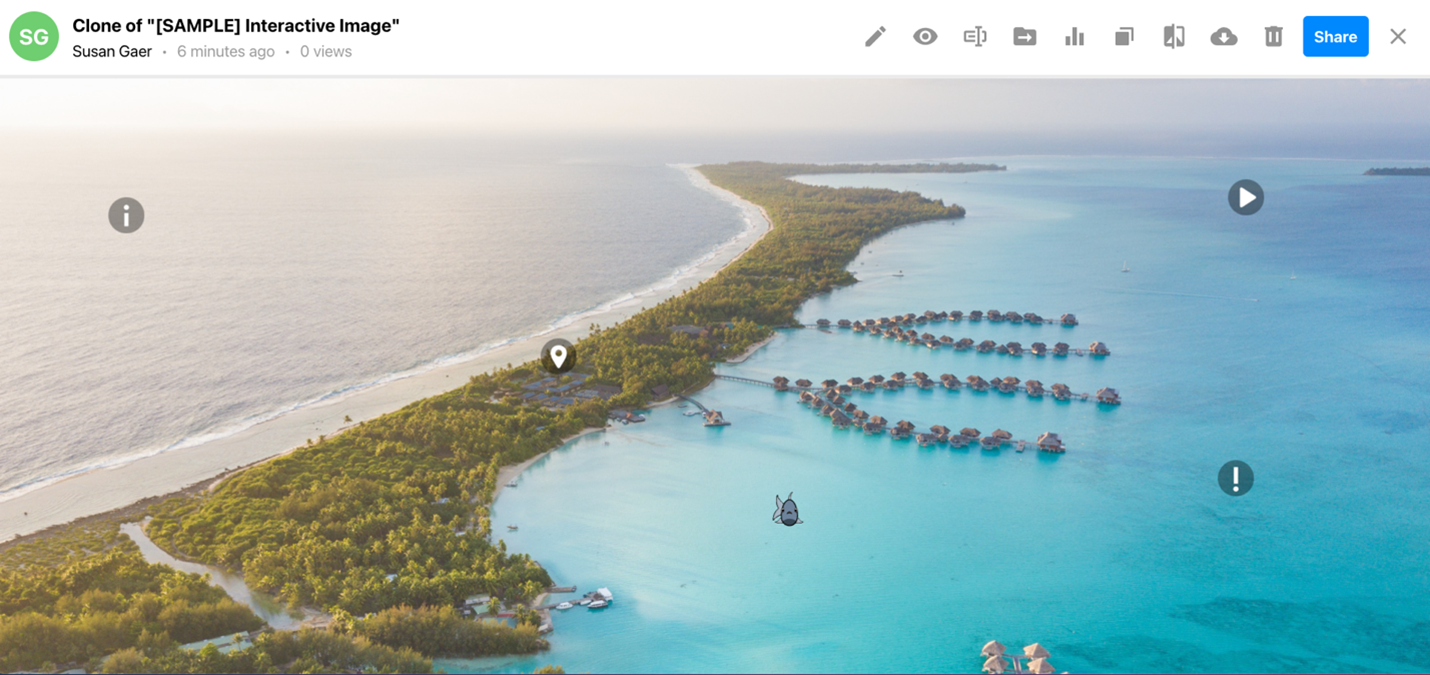 Fig 10
Tagging The Picture
There are already a couple of tags. We will review those and then create a tag of our own.
 Fig 11A
 Fig 11B
 Fig 11C
Figure 11A is a text tag. Figure 11B is a map tag for location from Google Maps and Figure 11C is a video tag. You can only add YouTube videos in here. To start tagging your image, click on the pencil icon on the top right of the picture.
After you click on the pencil icon, a new left navigation panel pops up (Fig 12A). All of the information for the tag is on the edit tag panel. First, you have a choice of what type of tag you would like (Fig 12B). Add text and media is a picture with some text. Add text label is just a label. Add content from a website is for embedding a YouTube video, Google Form, or Quizlet activity and Create tour is a multi-image tour such as a school tour or museum tour. For the purposes of this tutorial, we will keep it simple by adding text and media. Click on text and media and you will see the edit tag panel (Fig 12C). You can change the icon that shows up on the picture (Fig 12D) there are many to choose from. I chose the star. Add a title. I wrote Fish in Bora Bora. You can also add an image or video as long as you download it before you begin. I found a picture of tropical fish in Bora Bora to add. If you want to embed video, you will use the Add content from website tab. When you are finished, click Done.
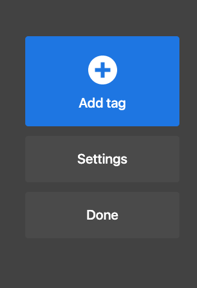 Fig 12 C
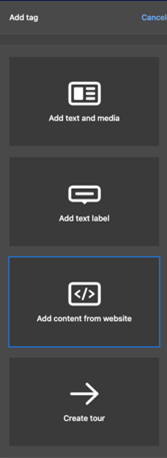 Fig 12 B
Here is the finished picture with the tag I created (Fig 13A).
 Fig 13 A.
You can see the Star Icon (Fig 13A) I created. When it is clicked, up pops my text with an image (Fig 13B).
Classroom Uses of Thinglink
That is how you go about developing an interactive image with Tags. Thinglink has a whole library of 360 images that you can use. There are many free sites to get photos from such as Unsplash, Pixabay, or Nappy for more diverse images with people of color. If you want your students to create a Thinglink under your account, you will need to pay $35.00 for up to 50 accounts.
Thinglink is ideal for having students demonstrate learning. You can easily make a virtual field trip using the Create Tour Tab. Students can create living book reports with video, audio, and text descriptors of a book they read. For CTE students, they can create diagrams of auto engines, heart valves, etc. For a lesson, teachers can embed anything that has an embed code. Quizlet, Google Slides, Google Forms, and YouTube are a few that immediately come to mind. With Microsoft Immersive Reader embedded, any text written is read to the student. The Immersive Reader is identified with the icon in Figure 14.
With 360 Goggles such as Oculus or Google Cardboard, your students can have an immersive VR experience. I hope you will try out Thinglink for use in your classes. I have linked up some of my lessons that I have completed here for you to view.