
Incorporate Bitmoji into Your Lessons
by Alisa Takeuchi
by Alisa Takeuchi, Garden Grove Adult Education, Garden Grove, CA
posted December 2020
Bitmojis create a fun, interactive theme to lessons, email, and banners Founded by Canadian company Bitstrips, Bitmojis were originally created in 2007 to help users make comic strips with personal avatars. In 2014, Bitmoji stickers were created for use in messaging apps. It was a way for people to express themselves without having to have artistic ability. In 2016, Snap, Inc, the parent company for Snapchat, bought Bitstrips, closed the comic strip department, and incorporated Bitmoji into Snapchat's platform. Since March 2020, when COVID-19 caused schools to shut down and teachers began teaching online, Bitmojis and Bitmoji classrooms have gained popularity exponentially. This easy to use, personalized avatar helps instructors create themes and settings to interact with their students.
Ways To Use Bitmoji:
- text messages
- emails
- lesson plans
- feedback
- assessments
- presentations
- certificates
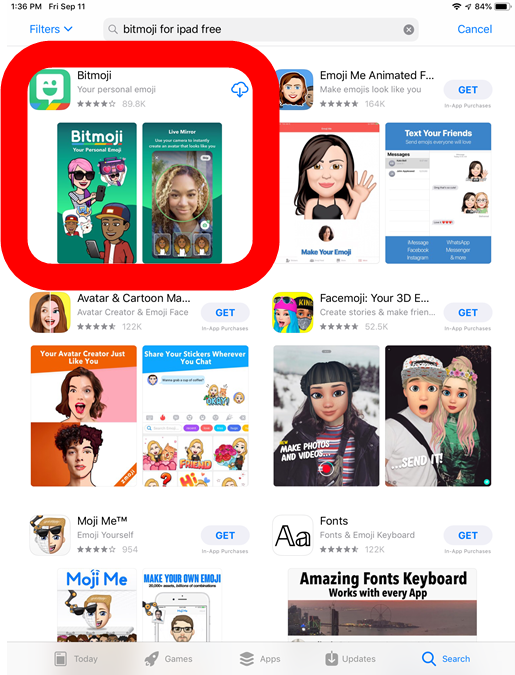
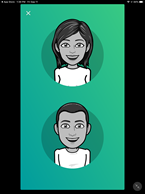
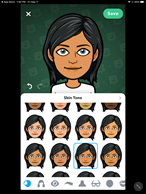
Inserting a Bitmoji to express how one feels couldn't be easier. In order to create your own Bitmoji, first install the app on your mobile device. Go to your app store (Apple App Store or Google Play), search for Bitmoji, and install. Once you have the app on your device, it will ask you to sign in with either your email address or Snapchat account. Depending on your preference, select one. From there, you will be given a multitude of choices to create an avatar that most represents you. Everything from hairstyle to color, facial features, body image, to clothes is available for you to select. Once your avatar is complete, it is not final. You may go back to the app at any time to change any aspect of your new mini-you.
Once you're satisfied with your Bitmoji, you can install the Bitmoji Google Chrome Extension through the Chrome Web Store. This will allow you to use your Bitmoji in your email, presentations, and so much more. Once installed, you will have the Bitmoji icon in your extensions toolbar at the top right corner of your monitor as well as an icon in Gmail in the New Email toolbar.

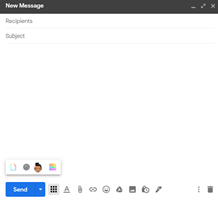
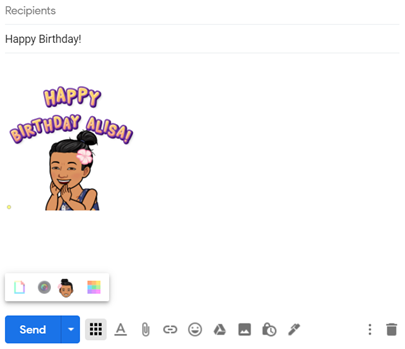
Now that you are ready to use your Bitmoji, what will you do with it? Select the icon in your email toolbar, then select the Bitmoji that best represents your mood or what you would like to convey, and that's it! Use them for feedback for students' work, holidays, or just to say hello! You can search for different poses or emotions by typing keywords in the search bar.
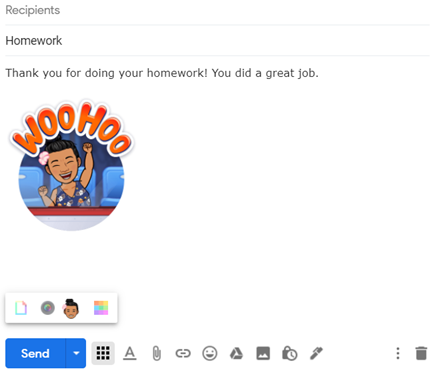
Bitmojis can be customized to an extent. Use the Bitmoji Extension and type the word or words in the search box to create what you would like it to say.
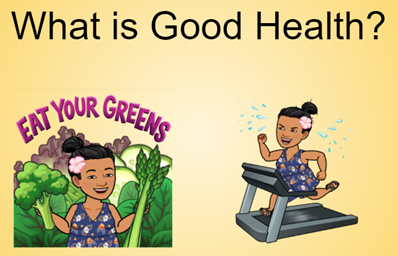
Bitmoji is a great way to accentuate the theme of your lesson. Add avatars to enhance your topic in a fun, creative way.
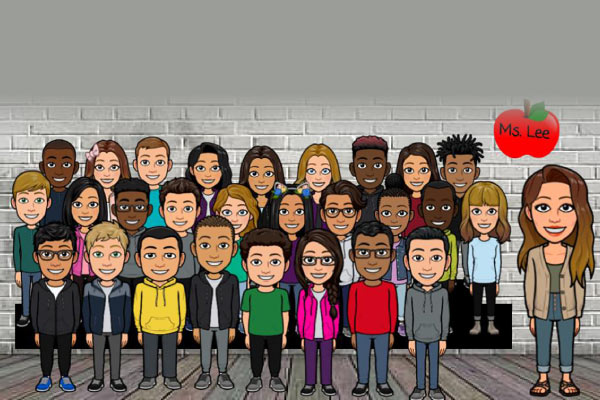
Creating a Bitmoji Classroom
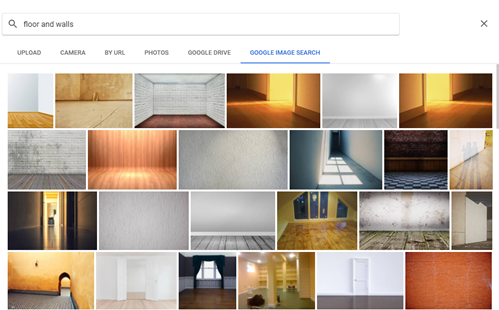
One of the newest crazes using Bitmoji is the virtual classroom. Let your imagination run wild creating your "classroom" whether it is a replica of the class at your school or your home classroom. Start with a presentation tool such as Google Slides or PowerPoint. For Google Slides, choose a blank slide. Insert a background by selecting Background from the top toolbar and Choose image. Search the web by doing a Google Image Search for "floor and walls." Choose the style you like.
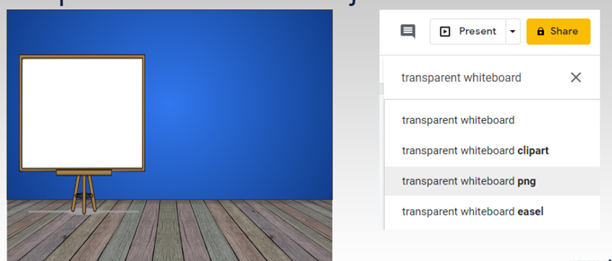
Next, you will want to insert furniture into your classroom. Select Insert, Image, Search the web. You will want furniture that doesn't have a background, so type the word "transparent" + the furniture name. For example: transparent whiteboard. Many images will appear for your choosing. Continue inserting furniture to your liking. You can resize, rotate, and even recolor with the Image format tool on the toolbar. Make sure to select the image first in order to customize.
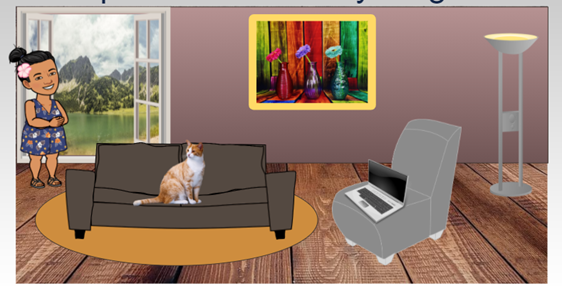
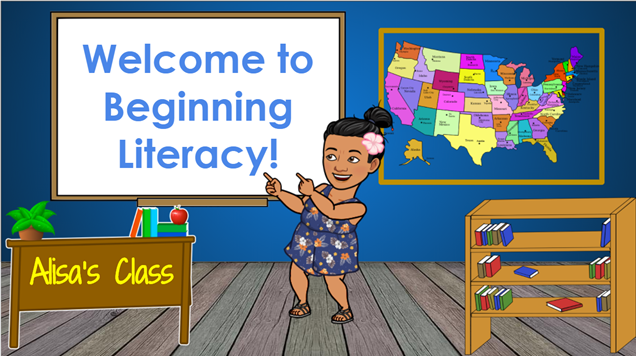
To make your virtual classroom interactive, add links to words or pictures.
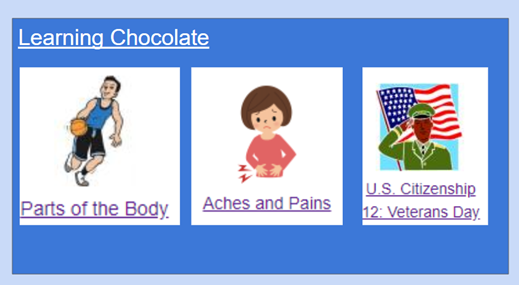
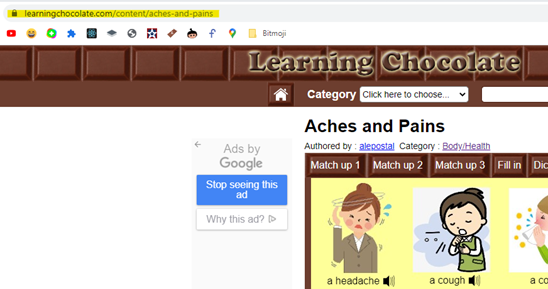
In the image above, there are 4 links. The first is the title Learning Chocolate. When creating the slide, highlight the word(s) you would like to create a link to. Select the link icon and type the URL of the site you would like to go to. For Learning Chocolate - learningchocolate.com For each picture, copy the URL for that particular lesson. Then select the picture to link, select the link icon, and paste the URL. The URL is located in the address bar for each topic as shown in the image below.
The possibilities are endless. Linking to websites, YouTube videos, presentations, or documents mean students have easy access to a variety of resources in a central location.
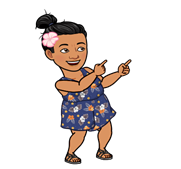
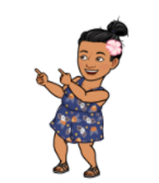
Making some Bitmoji Fixes
There is an easy fix when you find a Bitmoji you really like, but it is facing the wrong direction or not at the exact angle you would like. In the example below, my Bitmoji is pointing to the right. However, in my Bitmoji classroom, my whiteboard is on the left. Right click on the image, select Rotate, and Flip horizontally. Note: this does not work in Docs. There is no flip option. In the example below, the flip was done as a screenshot in Google Slides.
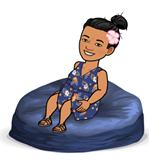
In the example below, a sitting Bitmoji is selected. However, the angle does not fit exactly to the beanbag chair selected. To change the angle of an Bitmoji, select the image. At the very top there is a blue dot connected to a blue line. Select the dot, then hold and drag to the direction you'd like to manipulate the image. Release at the angle desired.
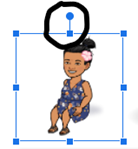

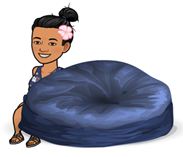
An important concept to remember when creating your room is that each image added is layered on top of (or in front of) each other. The background does not count. It is in the back and always stays in the back. Inserted images, however, will be placed on a layer to the front of the one before it. For example, the image of the beanbag chair above is done first, then the Bitmoji is inserted so it can sit on top (or in front of) the beanbag. If the Bitmoji was inserted first, it would look like the image below.
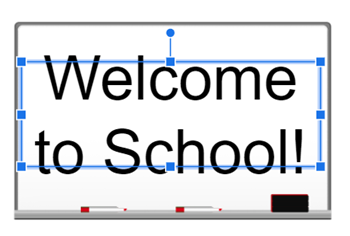
Not to panic. This is an easy fix. Right click on one of the images. Select Order. Choose which direction the image must go. For the beanbag, it would go to the back. For the Bitmoji, it would go to the front. This can get tricky if you have many images on top of each other needing to be in a specific order. As you create the final image you would like, start with the images at the back or bottom. Then continue inserting images/text in front of or on top. For text on a whiteboard or banner, insert the image first, then add a textbox on top as in the example below.
Enjoy making a Bitmoji and/or a classroom. There are so many things to do and your students will love it! Once you become familiar with Bitmoji, teach your students to create their own!