

Start Your Year with Google Drive, Docs, Calendar, and Keep
by Debbie Jensen
by Debbie Jensen
Baldwin Park Adult and Career Education
Posted August 2019
It is the first of the school year! We welcome students to our school and to our classes. In adult education, we serve different students and their needs, whether it is ESL, Basic Education, High School, or CTE. But one thing all or our students have in common is the need to use technology effectively in class and in their everyday lives. We as teachers have the same need, we need our students to be able to use technology in our classrooms, successfully.
To do this here are some ideas, assignments, and worksheets for that first week. We will be looking at Google tools to assist us in teaching online organization, communication, time management and note-taking.
Instructions
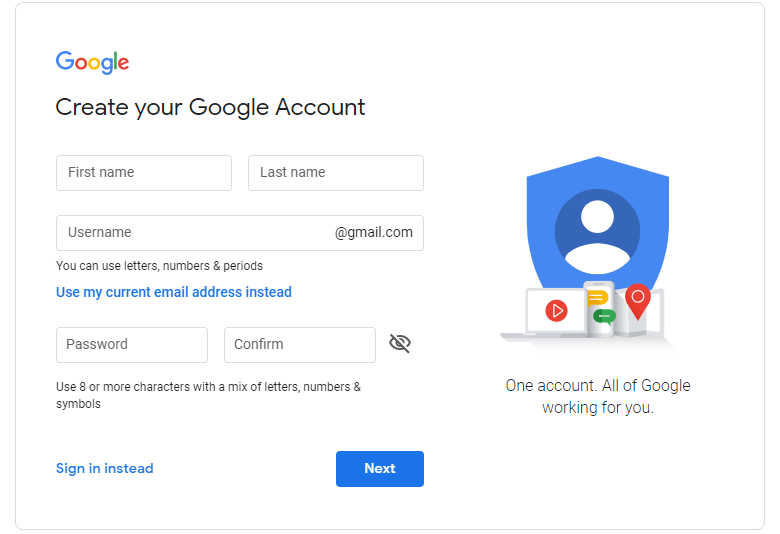
On the first day, assist all students in getting a Google account.
-
Go to https://accounts.google.com/signup. Create a Google account.
-
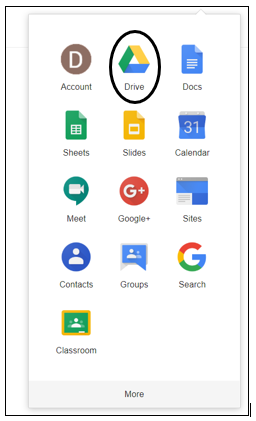
Open a new tab. Look for the Apps box on the top right. Click on the 'Apps' box. (looks like a waffle)

The set of applications that open to you will depend on what your district allows. You may or may not have Gmail. (This apps box display does not include Gmail)
-
Click on 'Drive.'
Let the Excitement Begin!
Using Drive
Drive is like an online file cabinet or repository for files of any kind. (like Dropbox or OneDrive) It also offers your students a variety of production tools such as Docs, Sheets, Slides, Forms, and Draw. The power of Drive is that it is free, can be accessed from anywhere, using any type of device, and is great for collaboration. What's more, it is paperless, and it saves automatically (a feature truly to be loved). Finally, it puts the necessary tools in our students' hands to accomplish 21st Century tasks.
 Drive Assignment
To get our students familiar with Drive we will assign them to make a shared folder. Their other assignments will be completed in the shared folder.
-
From the Google Apps box, select 'Drive.' (see above)
-
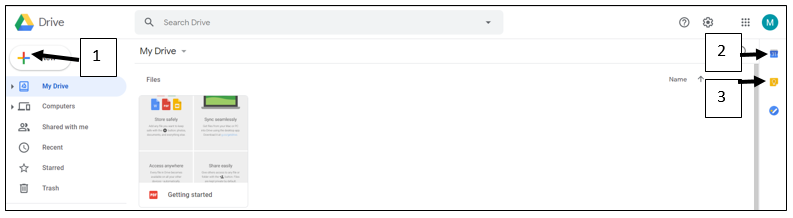
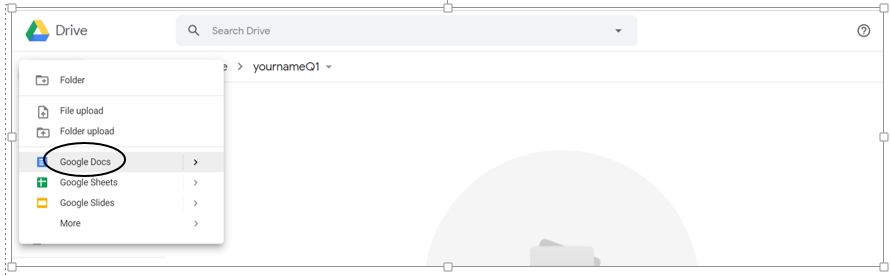
Inside Drive: [1] shows the 'New' icon. By selecting it there are many choices. At [2] there is an icon for Google Calendar and at [3] the icon for Google Keep. We will use these later in the first week assignments.
-
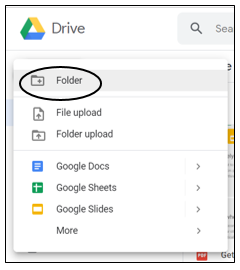
Click on 'New,' then select 'Folder.'
-
Give the folder a name.
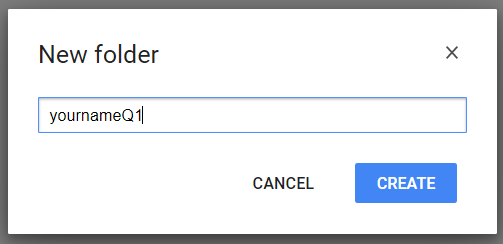
Pattern: YourNameQuarterNumber ie DebbieQ1. Click on 'Create.'
-
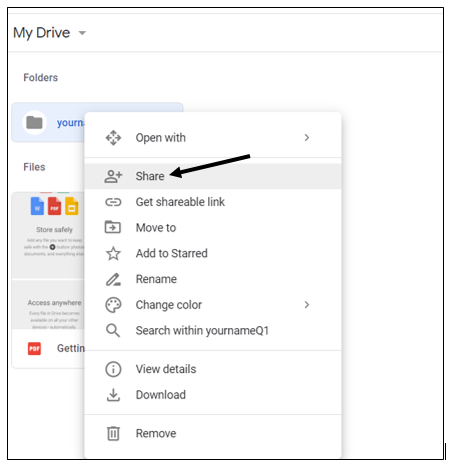
Hover over the folder without opening it. Right click on the mouse and a menu of commands will appear. Select 'Share.'
-
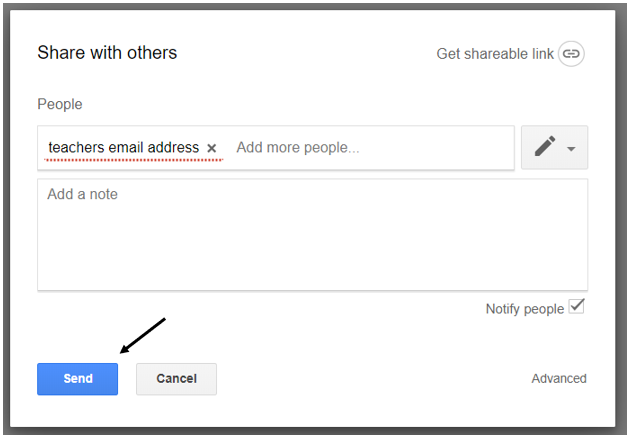
Under 'People,' add the teacher's email address. Then click on 'Send.' The folder and anything created in the folder will automatically be shared with the teacher. Anytime you create something in the folder, it will again be shared with the teacher.
Using Google Docs
Google Docs is one of the applications available in Drive. It is a word processing application (think Microsoft Word). For this assignment students create a written introduction.
 Docs Assignment
-
Click into the shared folder. Click on 'New,' and scroll down to 'Google Docs.'
-
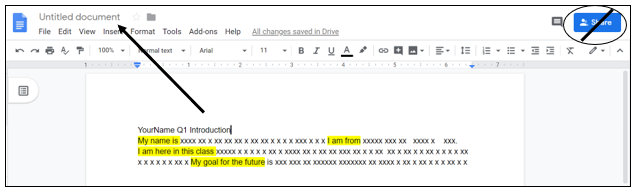
Give the document a name. Student Name Quarter Number Introduction. SHORTCUT TIP: By clicking on the Untitled document line at the top left, the title just written on the paper will automatically appear in the file name line.
-
The student assignment is to introduce her/himself. The picture shows a template with the student prompts, My name is…..I am from….I am here in this class to….My goal for the future is.
-
After answering the prompts, the student can close the Google Doc. Do not click on the Share button. The document was created in a shared folder so there is no need to share it again.
Using Google Calendar
As a teacher, Google Calendar can help you teach time management to your students. Students add five events to their Google Calendars. These can be dates to remember but, as a teacher, you can also have students include assignments with due dates.
 Calendar Assignment
-
Open a new tab. Go to the apps box, right. Select 'Google Calendar.' On the menu bar at the top right, students can select the view they desire by clicking on the arrow: day, week, month etc.

-
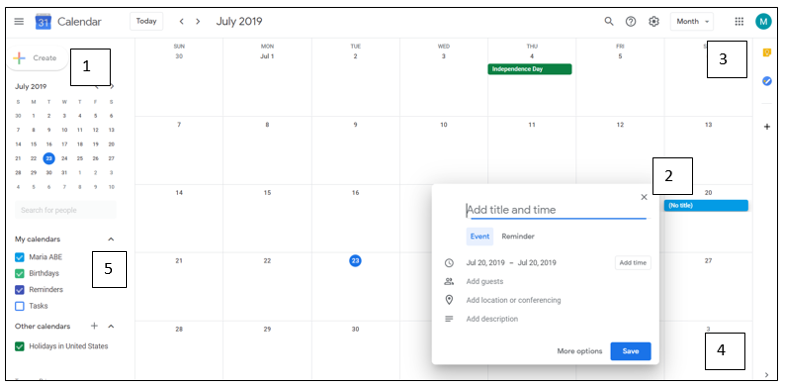
Add five events to the calendar. To do this either click on the plus 'Create' [1] or on the date itself. [2] Notice [3] This is a direct link to Google Keep. (we will discuss this later) If this icon is not there, click on the small arrow at [4]. This arrow 'shows and hides the side panel'. At [5] there is a list of various calendars, reminders and tasks.
-
Fill out the information needed for the event or class assignment and then click on 'Save.'
-
This "First Week Assignment" is due in five days, add that date to the calendar.
-
Add class assignments made by the teacher.
-
Add the last day of the quarter.
-
Add any holidays or teacher in-services when class will not be held.
-
Add personal dates including birthdays etc.
-
-
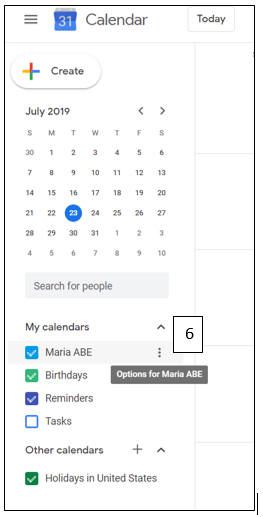
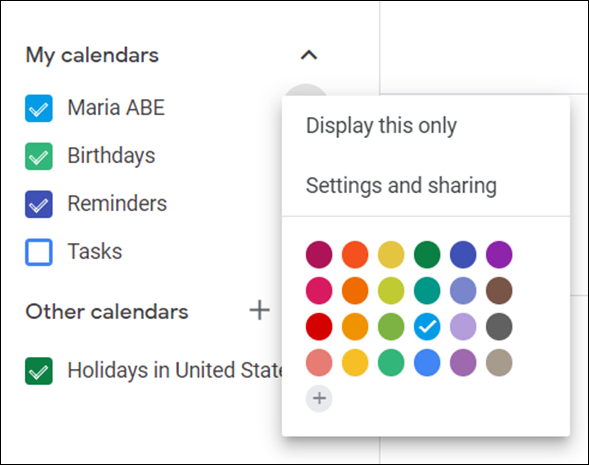
To share the calendar with the teacher, go down the list on the left [5] (see previous image). Find the calendar, hover over the top. Three vertical dots will appear on the right. Select this. [6]
-
Select 'Settings and Sharing.'
-
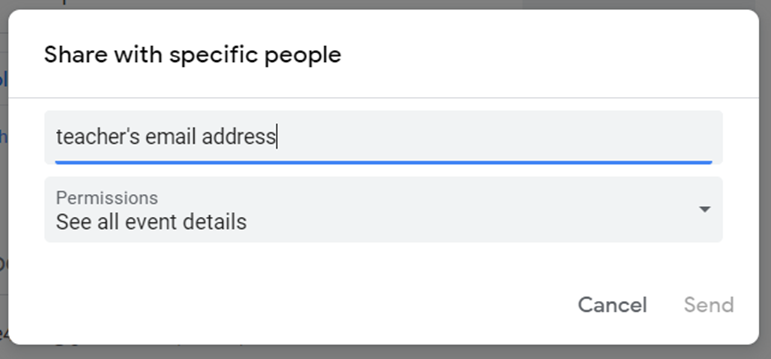
Give the calendar a name. Pattern: Your Name School Calendar Q1. Example Debbie School Calendar Q1. Scroll down to 'Share with Specific People'. Add the teacher's email address. Click on 'Send'. The calendar will appear on the Teacher's list of calendars as seen on #14 [6]
Using Google Keep
Keep is a note-taking app that allows you to take different types of notes and easily share them. Think of a shopping list to share or research notes to add to a report. You can photograph text in your book or on the wall, grab the image text, and send the text to Google Docs where the notes can be dragged into the Google document.
 Keep Assignment
Keep in a Google note-taking app that can be used on a smartphone. To do this assignment, download Google Keep and Google Docs onto your phone. Check to be sure students have a smartphone. For this assignment, take a picture of a page in the textbook or of the teacher's notes on the board, or of a poster on the wall. Change the image into text and transfer it to a Google Doc. Move the Doc into the shared folder. This will share the doc with the teacher.
-
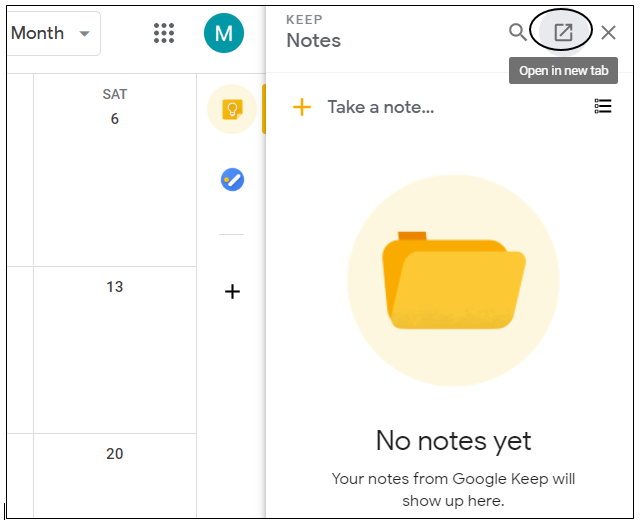
The Google Keep icon is down the right side of Gmail and Google Calendar. It can also be found by going to keep.google.com on the computer. On the phone, download the app, Google Keep.
-
Open Google Keep. Click on New Note with Image [7] On the phone this command may be at the bottom of the page. This opens a dialogue box, 'Add image: with two choices,Take photo, or Choose image.' Take a picture. (the picture can be of a page in a textbook, poster, notes on the board etc) There is to choice to retake the image if necessary or click 'Ok.'

-
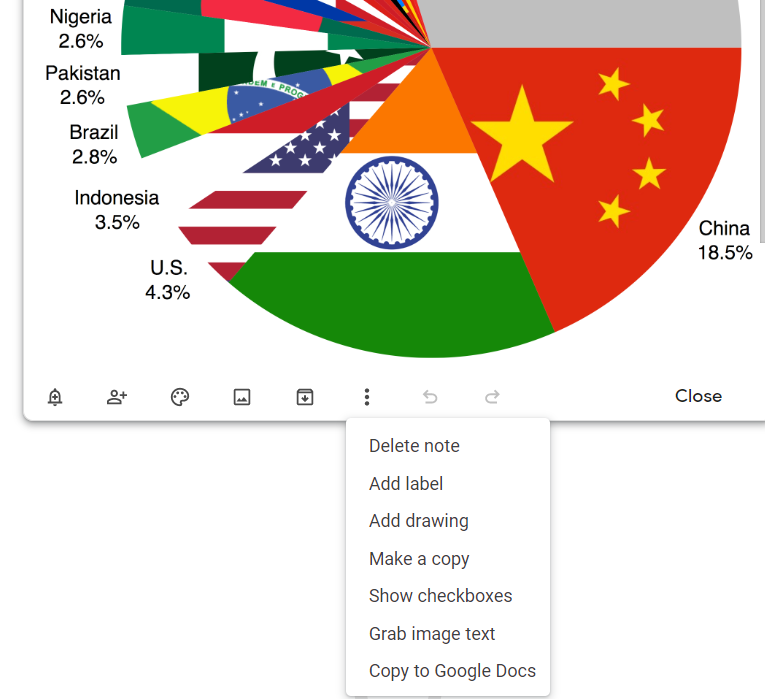
On the phone's screen, click onto the image. At the top of the image there are three vertical dots. Click on it. Scroll down to 'Grab image text.' The text will appear beneath the image. Check for mistakes. The note may require some editing, if mistakes were made.
-
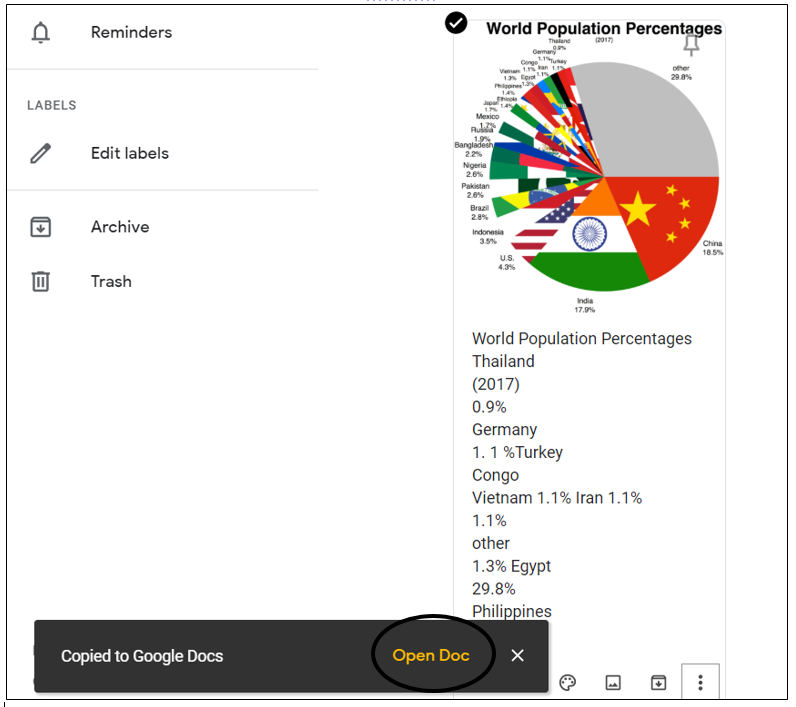
After the text has been added to the note, go to the three vertical dots again and this time select, 'Send.' Click on 'Copy to Google Docs.' Select Open Doc link. (circled)
-
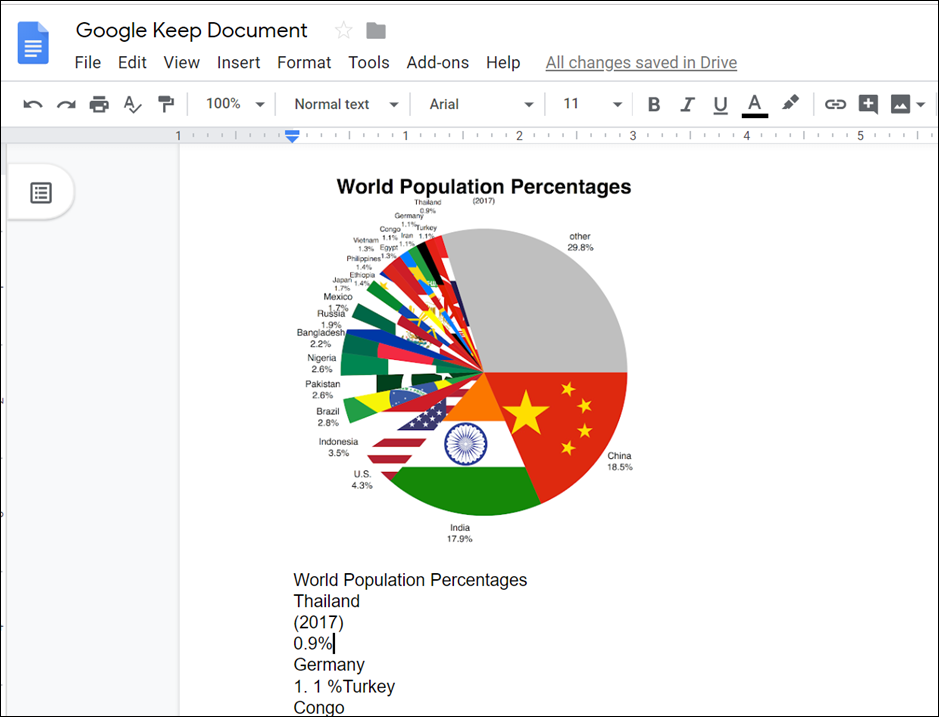
The image and text will transfer to a Google Doc in the Drive. The image can be made smaller by clicking on the image and dragging the corner icon into the center.
-
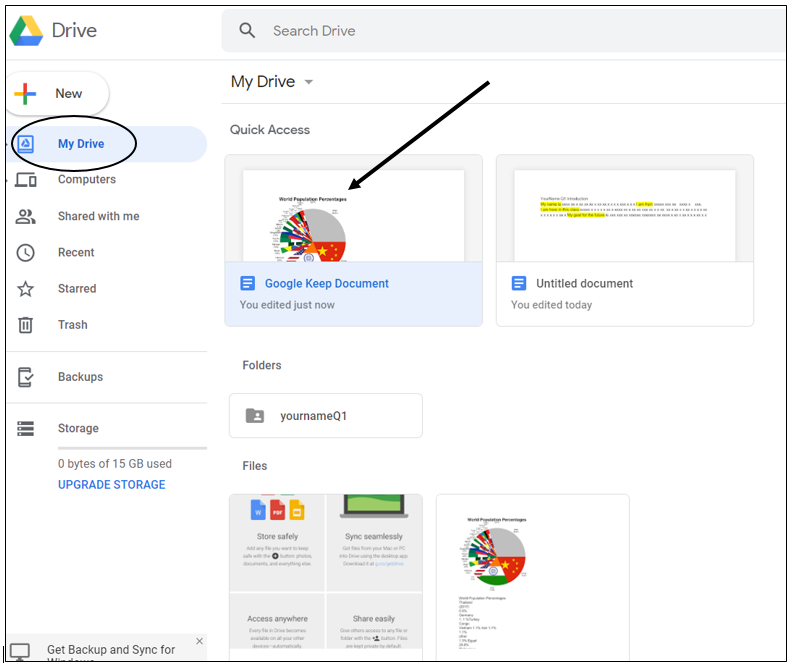
Return to the drive folder. The document is at the top of the drive folder. (Quick Access area) If it does not appear there, click on My Drive at the left (circled)
-
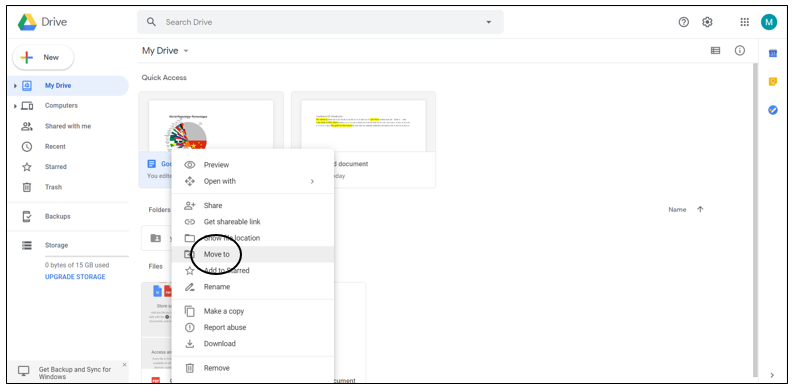
Hover over the file. Right click with your mouse to open commands. Select Move to. (circled)
-
Click on the arrow beside My Drive (circled)
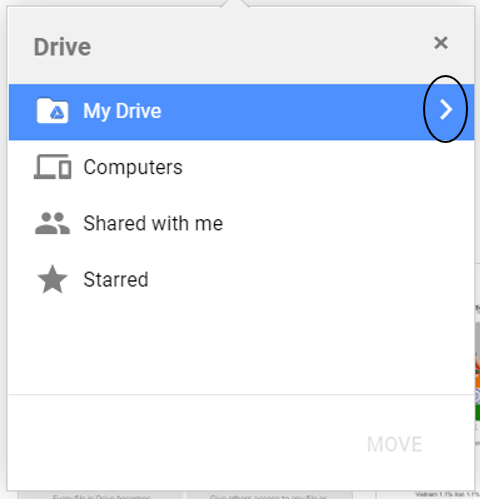
-
Select the name of the shared folder. Then click on 'Move.'File

-
There will be a reminder: moving this item will share it with everyone who can see the shared folder. Click on 'OK'
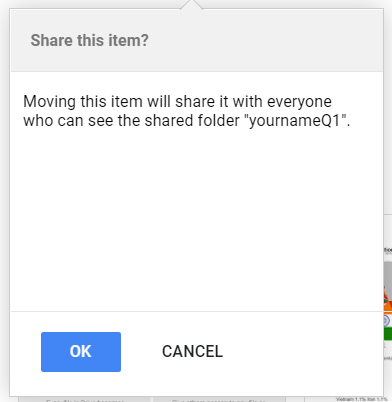
-
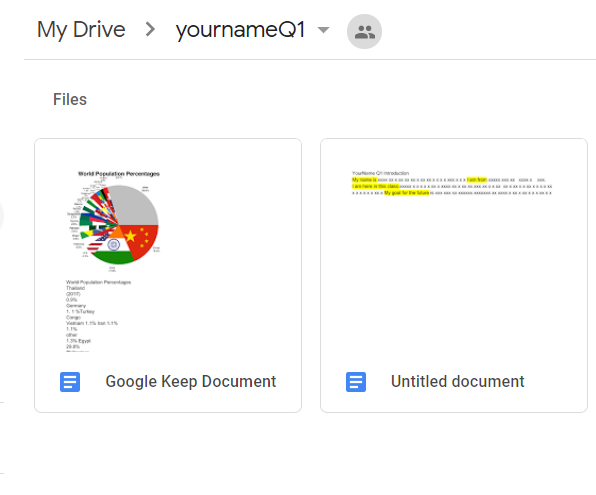
The Shared Folder now has two documents, the student introduction and the notes from Keep.
As a Teacher
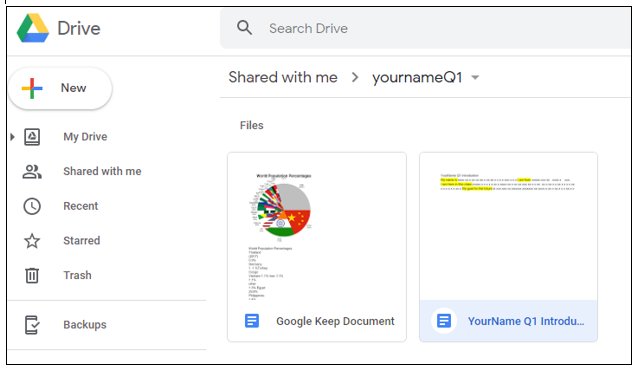
You will find the students' shared folders in 'Shared with me.' Click on the folder.
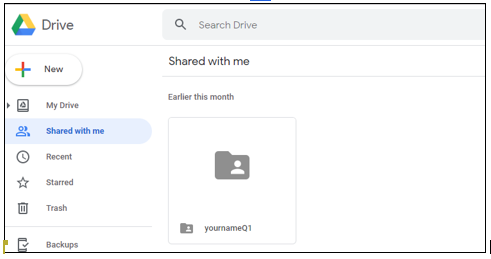
When you click on the folder you will see all documents created by the student. For this first week assignment there will be the Google Keep Document and YourName Q1 Introduction.
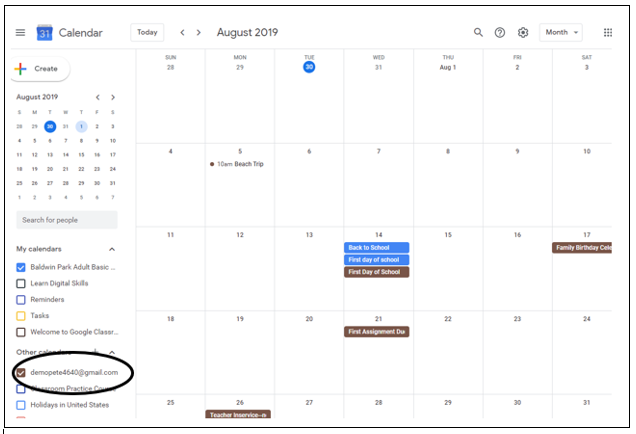
The shared calendar will be in your Google Calendar. A link also appears in your gmail. The circled student calendar opened to the student's assignment.
Conclusion
The first week is filled with enrollment documents, the course syllabus, and class rules. With a little planning, you can include lessons in online organization, communication, time management, and note-taking. These skills will help your students succeed in your class and job preparation.
First Week Assignment
Here is a handout with the directions for the First Week Assignments.